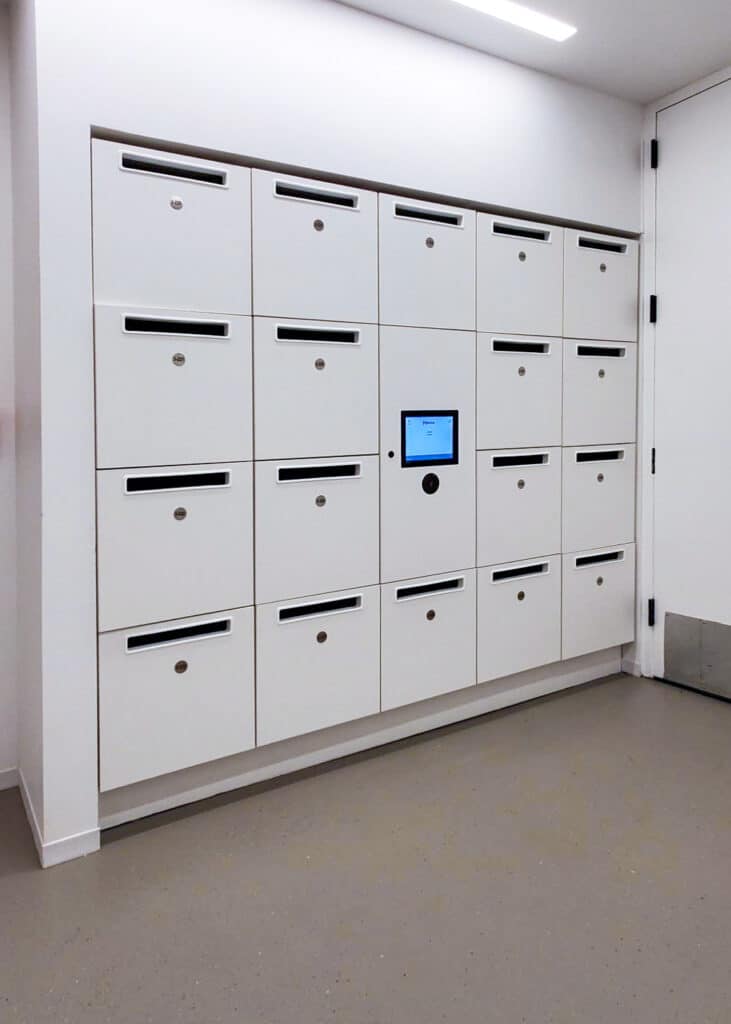
Users initially approach the kiosk to choose a locker. They have the option of either selecting a specific locker number or a particular size (Small, Medium, Large) and position (Upper, Middle, Lower). The system then suggests a locker based on these chosen criteria, or provides a filtered selection for a specific locker number.
Once the locker is selected, users present their badge or phone (if using mobile credentials) to assign the locker to themselves. Upon their return, users simply present their badge, phone (mobile credentials), or key in a PIN code to open the locker. The system then inquires if they are finished using the locker. If not, the locker remains assigned to that user. However, if the user is done, the locker enters a cleaning mode becoming unavailable until cleaned, or it is immediately freed up for another user’s use.
Assigned Locker User Experience
A user initially presents their ‘key’ to both open and assign the locker. In this context, a ‘key’ could be a physical employee ID or badge, a PIN code, or a mobile credential stored on their phone. The user then stores their personal belongings in the locker, closes the door, and continues with their daily activities.
Upon their return, the user can unlock the locker by presenting their physical badge to the reader located below the touch screen or by entering their PIN code on the touchscreen itself. Both methods enhance the convenience and flexibility of accessing personal items throughout the day.
Full Touch Display Functionality
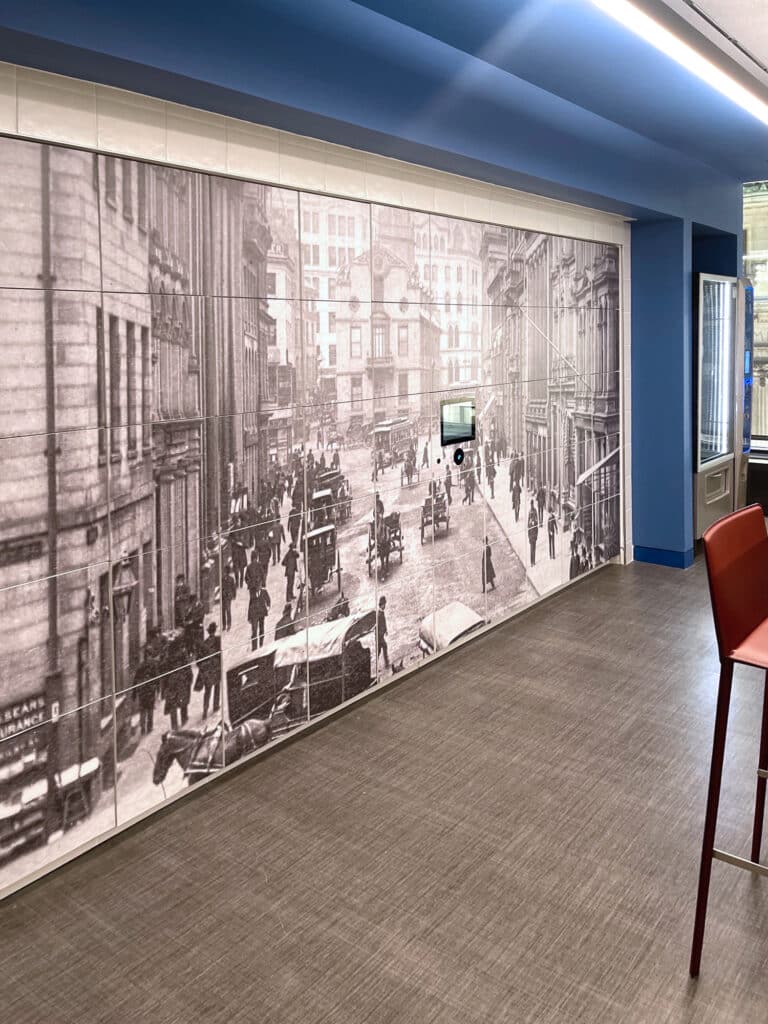
Customize and brand your full touch display
Choose a specific locker either by visually spotting it on the screen, by its number, or by selecting based on size or location
Users have the option to change their PIN code on the screen at a later date
Users have the autonomy to put a locker into service mode by themselves, instead of requiring a request to a floor admin for this task
Example Branding Options:
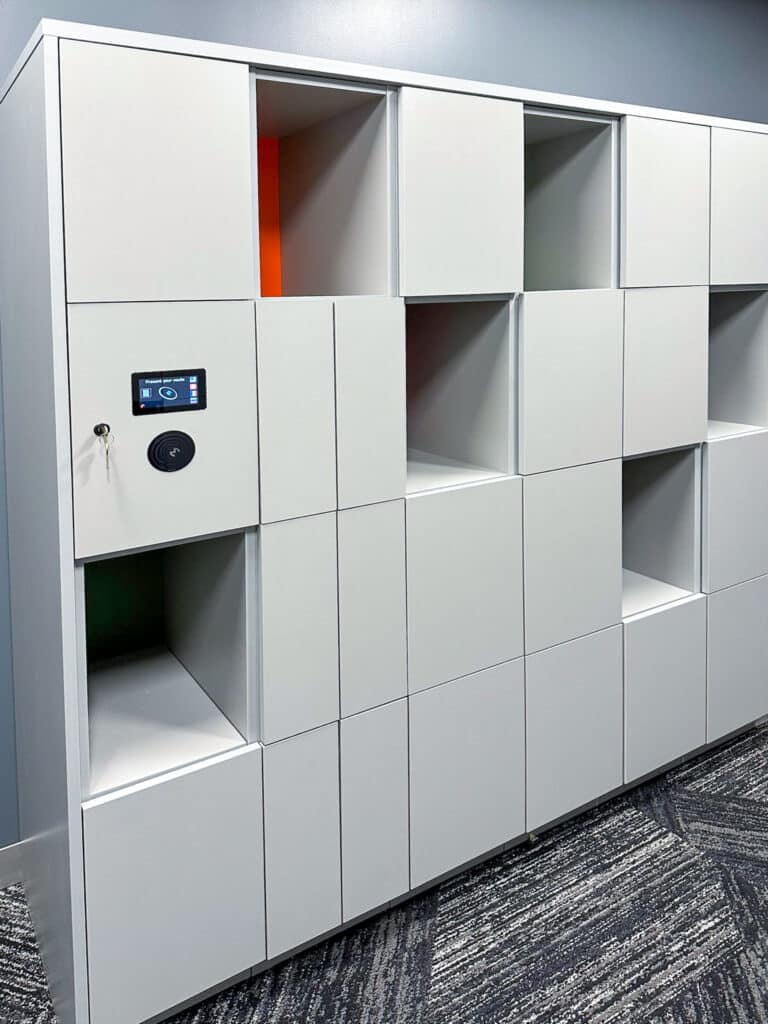
Typical Metra Mini Touch Display User Experience
Unassigned Locker User Experience
Users begin by approaching the kiosk to select a locker. They are given the option to either choose a specific size (Small or Large) or a position (Upper or Lower). Based on their selection, the system assigns a locker that aligns with their chosen criteria.
Once a locker is selected, users are required to present their badge or phone (if they’re using mobile credentials) to claim the locker. On their return, users can easily open the locker by presenting their badge, phone (mobile credentials), or by keying in their PIN code. The system will then inquire if they have finished using the locker. If the answer is negative, the locker remains assigned to that user. But, if they have indeed finished using it, the locker either enters a cleaning mode and becomes unavailable until cleaned, or it’s instantly made available for use by another user.
Assigned Locker User Experience
The user presents their ‘key’ to both open and assign the locker for use. In this context, a ‘key’ may be a physical employee ID or badge, a PIN code, or a mobile credential stored on the phone. After storing their personal belongings in the locker and securely closing the door, the user can carry on with their day. Upon their return, the user can unlock the locker by utilizing any of the following methods: presenting their physical badge to the reader located below the touch screen or entering their PIN code on the touch display itself, offering convenience and flexibility in accessing their personal items.